the work of Jen Raven
  • home
  • gallery
  • vitae
  • contact
  • nest

taming the stash

12/29/2013

0 Comments

 
Dust is a real problem in Bakersfield; fabrics and other materials often need storage options that will keep the dust out, between projects.  For several years, my stash solution was plastic storage bins, on the studio closet shelf:
Picture
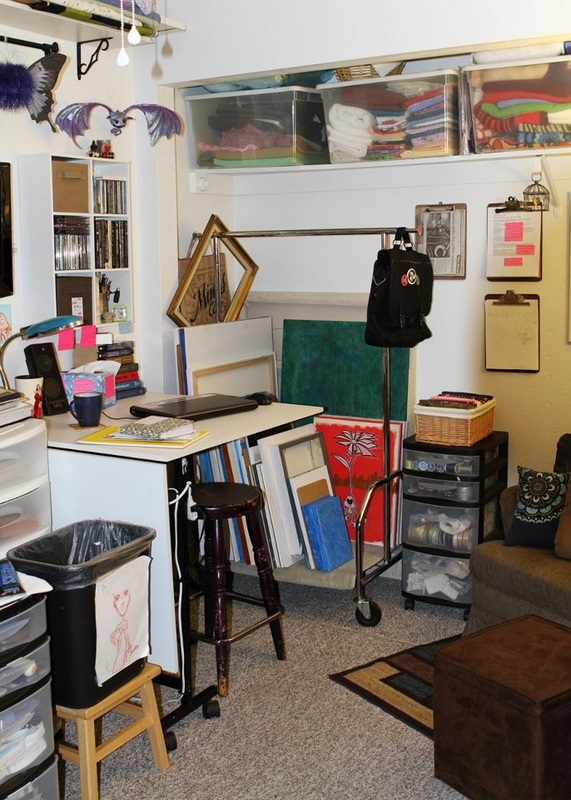
These bins are heavy and awkward; I found myself avoiding sewing projects, just because I didn't want to wrangle the storage bins. So I decided to make a change. 

First, I gave the studio books a new home in another room, to clear the shelf I wanted:
Picture
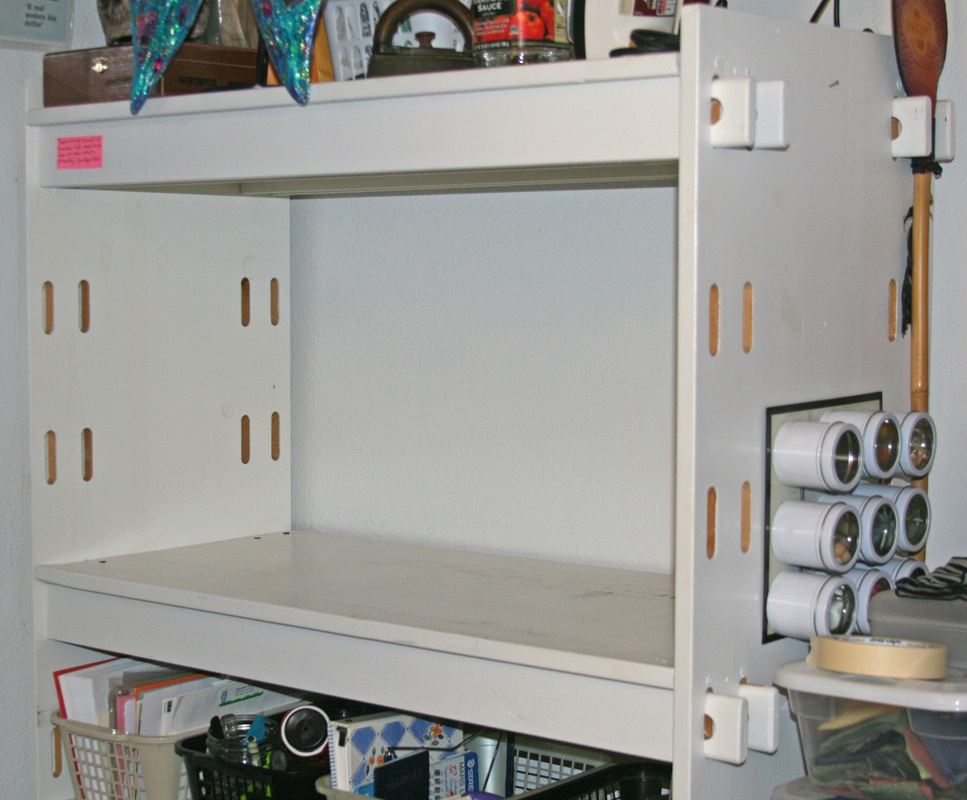
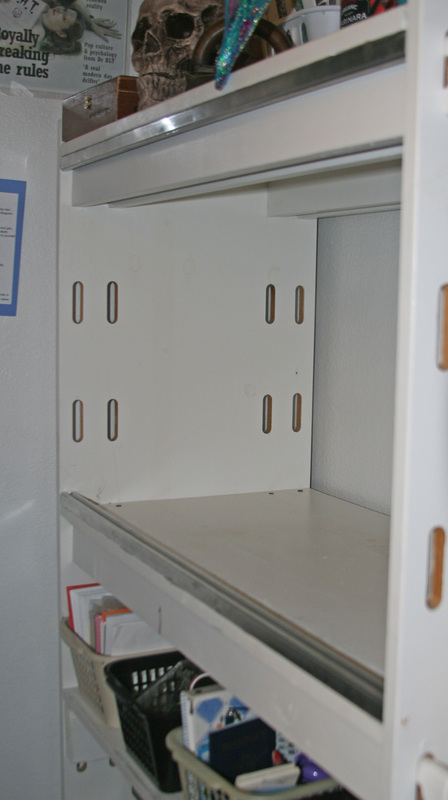
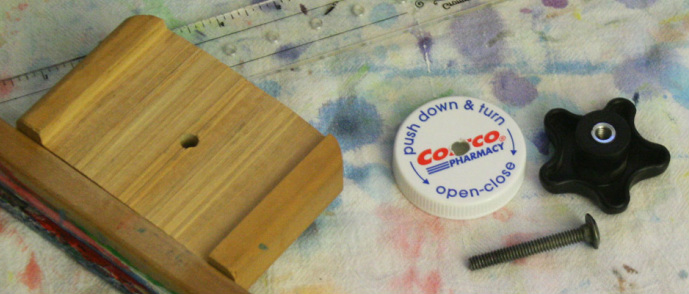
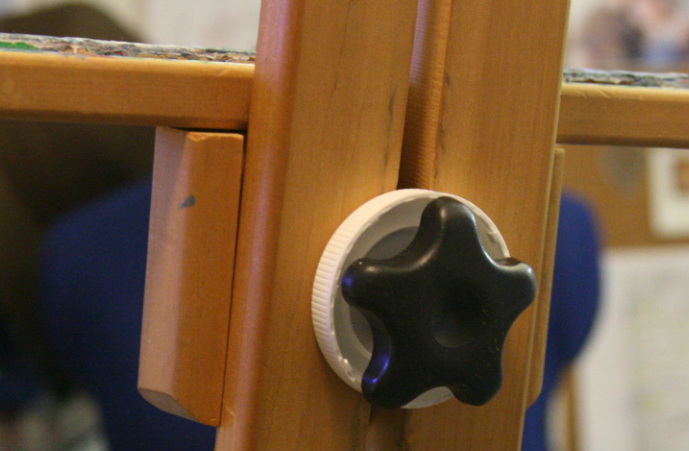
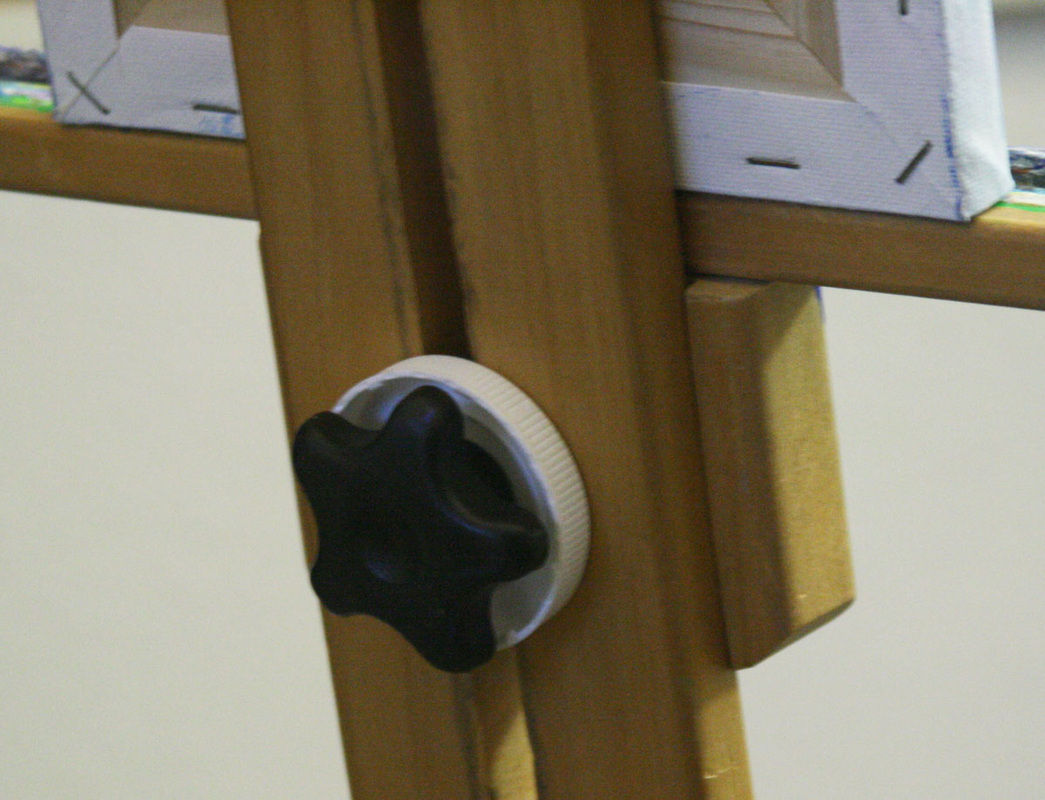
If I want to store my fabrics on a shelf, I need to transform that shelf into a dust-free cabinet.  I asked Todd for his input; we decided on clear sliding doors.  That way, it would be easy to see what I had on hand.

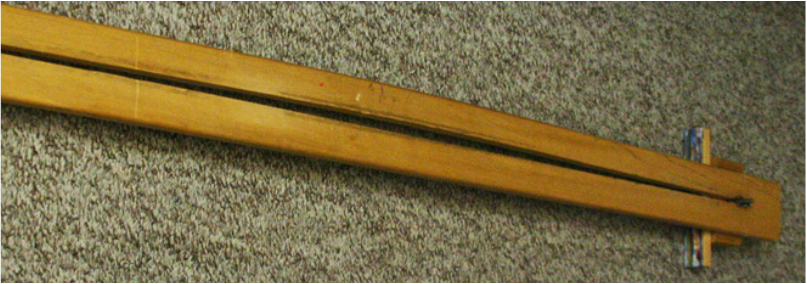
First, Todd re-purposed some old screen framing into sliding-door tracks:
Picture
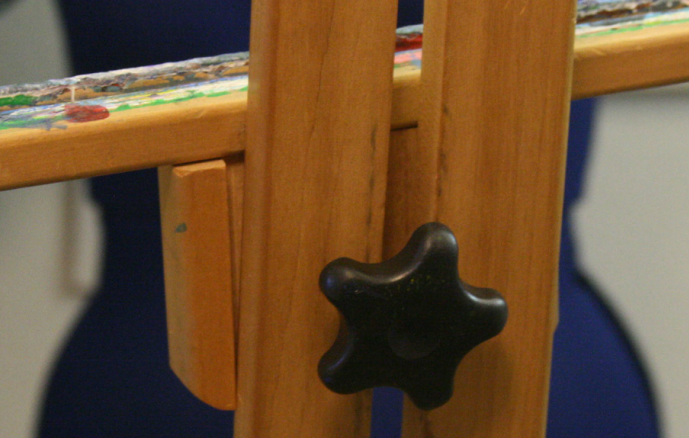
We used 5-minute epoxy to fix the tracks to the shelf, top and bottom:
Picture
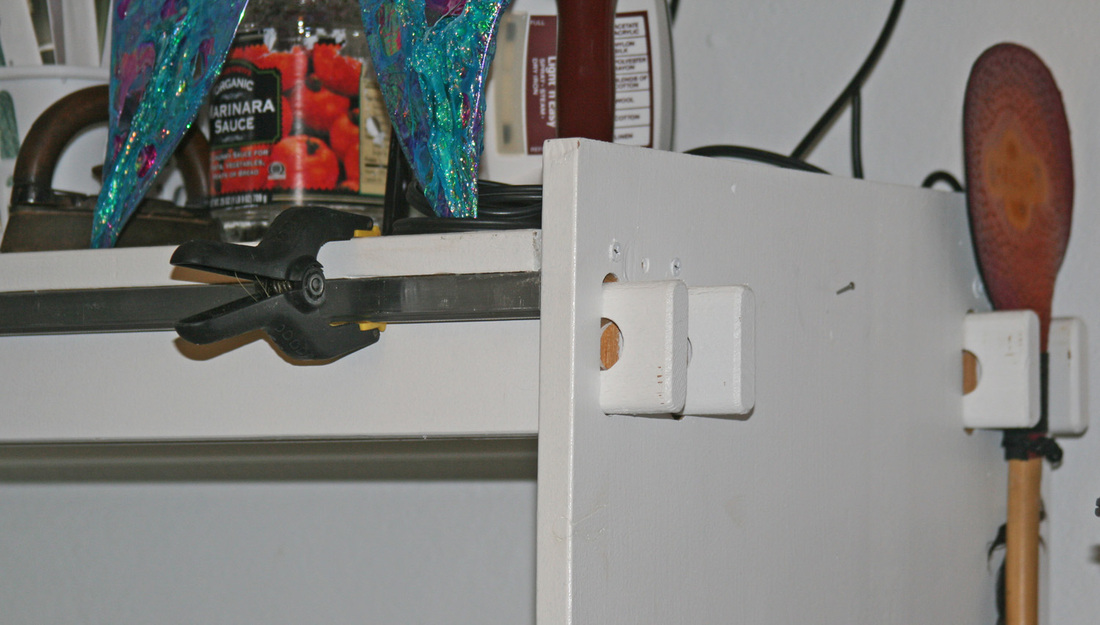
A double-row of repurposed screen framing, top and bottom, to hold the doors:
Picture
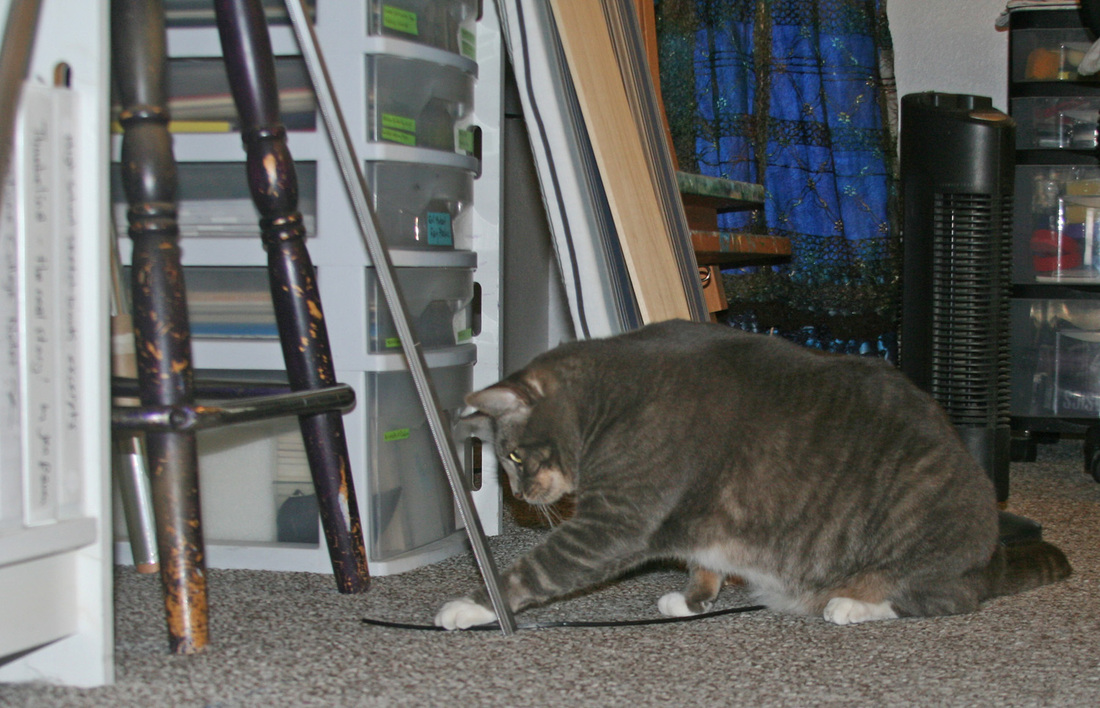
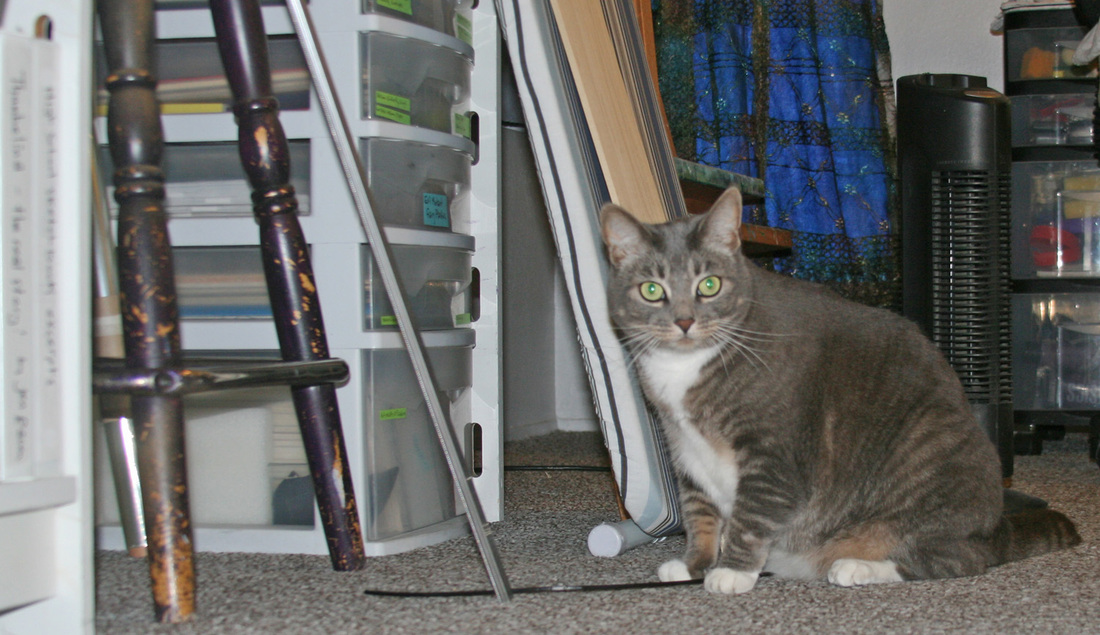
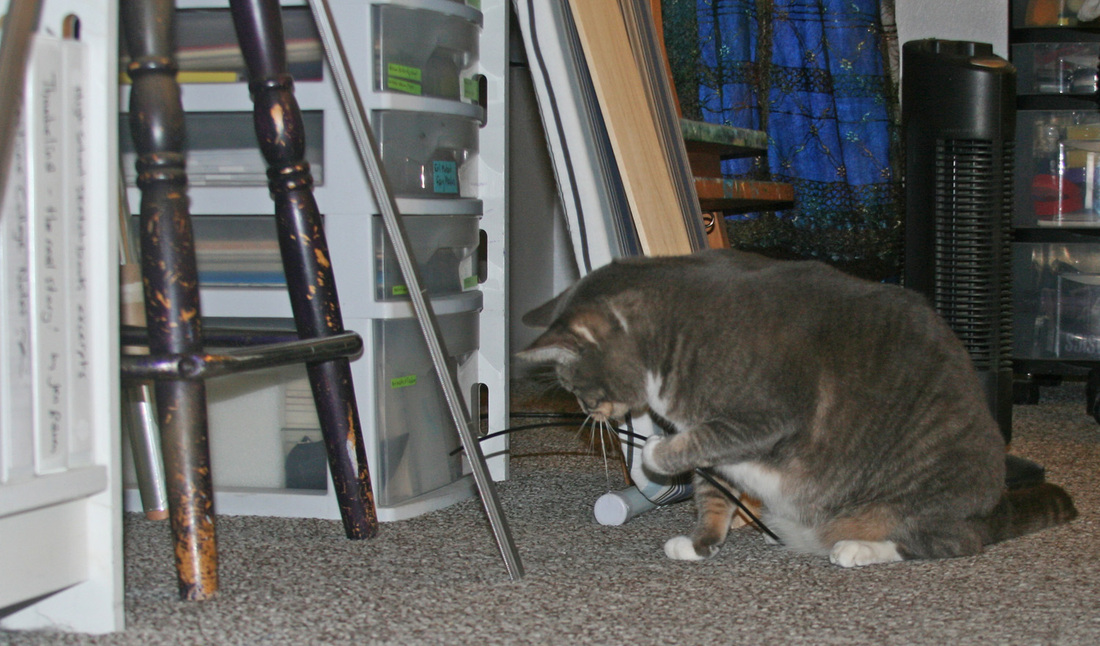
Studio Cat 'helping' with the project:
Picture
While Todd and Studio Cat finished the tracks, I pulled plastic sheets from several old poster frames, to create our sliding doors:
Picture
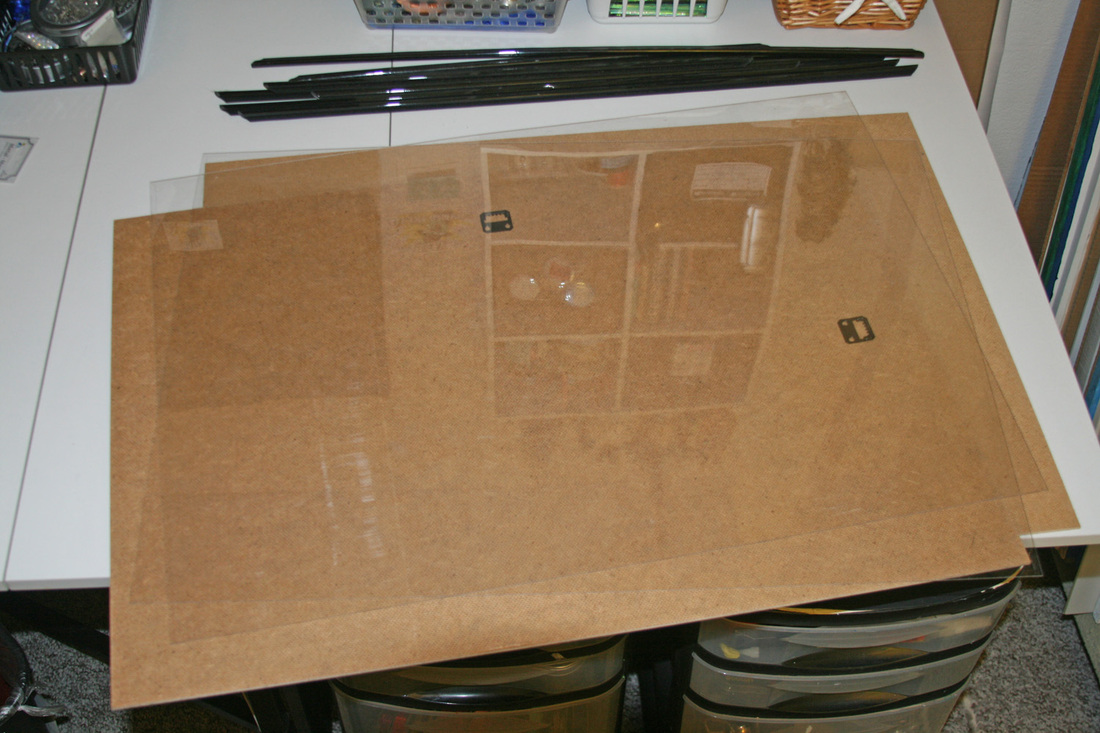
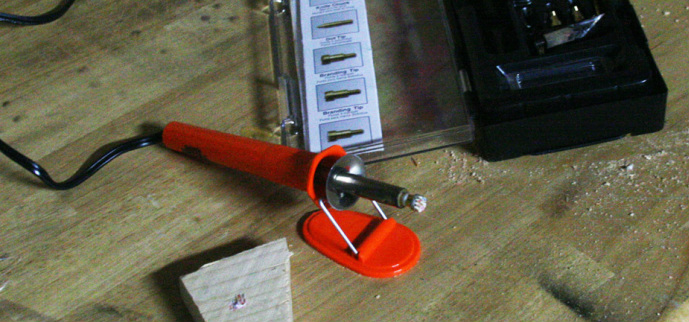
We measured and marked the plastic, and then cut it to size with the hot knife.  We used a large scrap of old mat board to protect the cut table from the hot knife:
Picture
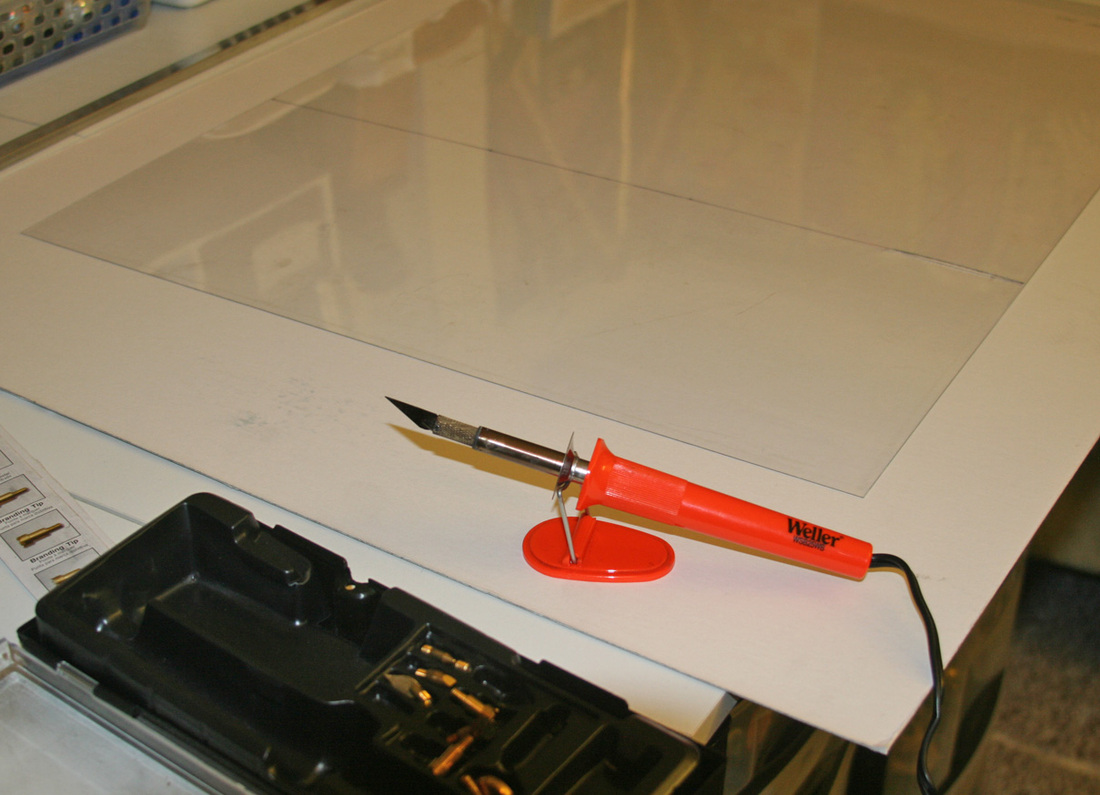
Once the plastic was cut, it fit right into the tracks, no problem.

After cutting, we used the epoxy to fix that scrap of mat board to the back of the shelf, to keep the dust out.  Then we moved my fabric stash into its new cabinet:
Picture
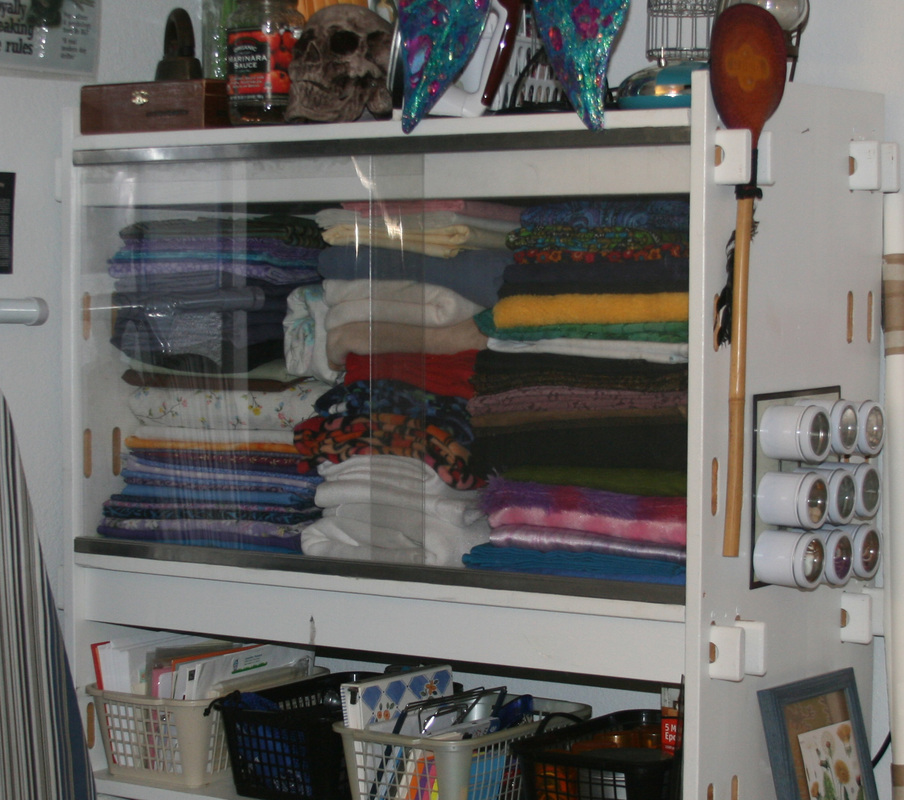
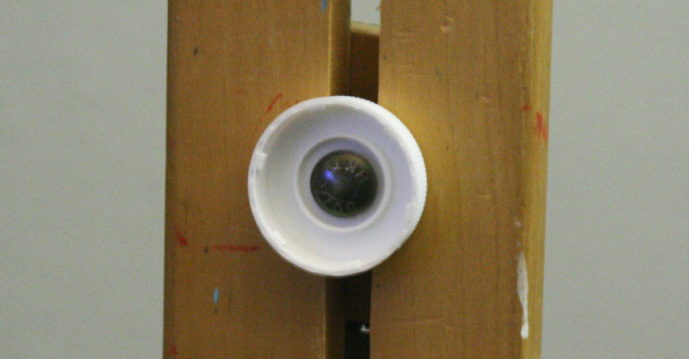
Now my fabric is eye-level; it's easy to see and reach.  The doors slide to either side,
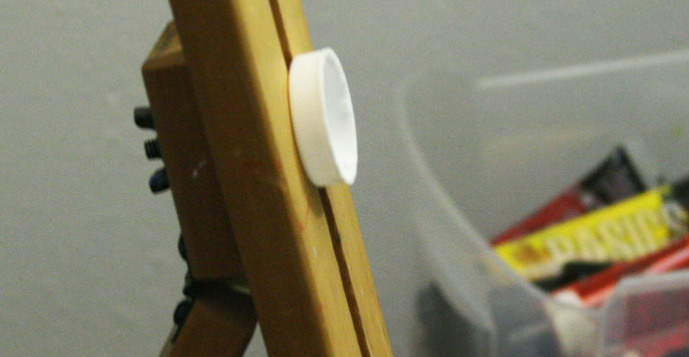
or can be easily removed and replaced, if necessary.

I don't have to wrangle those heavy fabric bins, any more. 
Picture
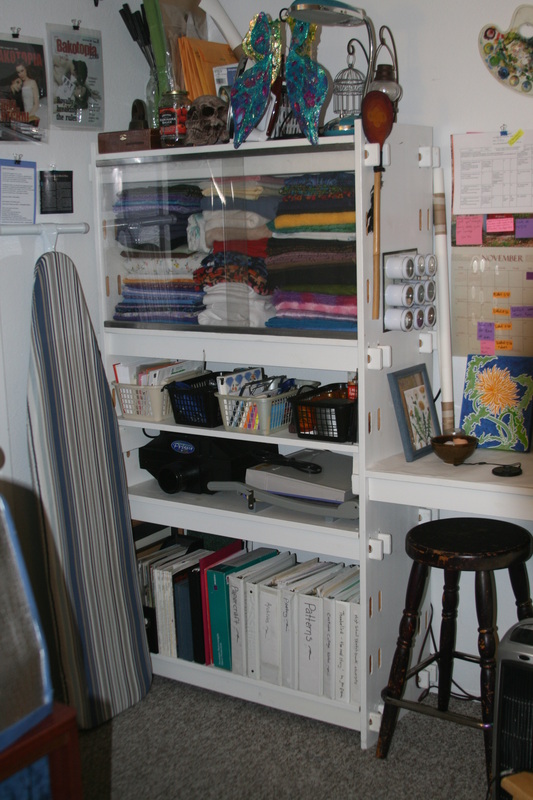
This entire project was done in one evening,  with re-purposed materials we had on hand.  Didn't cost a dime.  No more pulling heavy bins down from high shelves.

This project has been approved by Studio Cat.
Picture
Picture
0 Comments

MacGyver-gone-Jackass Candles

6/6/2013

0 Comments

 
Bring on the wick jokes; we're making candles! 

When we have enough old candle ends saved up, we melt them down to create new candles, with the rescued wax. 
Picture
I braid candle wick with twine left over from Todd's photo shoots:
Picture
Masking tape, twist-ties and rubber bands ...
I like to think MacGyver would be proud:
Picture
Yes, there are a lot of other ways to get the wick to stay put. 
No, I don't want to argue about them. 

While I prep the molds, Todd chops the candle stubs into smaller chunks, removes anything that isn't wax, and creates his own version of a double-boiler--
Picture
--Yes, really:  That is a glass Pyrex measuring cup filled with melting wax chunks, floating precariously in a pot of boiling water, over an open flame.  Kids, don't try this at home (seriously, kids; don't. This is dangerous, and even kind of stupid, given all the things that could go wrong.  You don't get to do this sort of thing until you're a grownup, at which point you really ought to know better).
Picture
Todd wrangles the (abused) Pyrex with a pot-holder, and pours the wax into the molds:
Picture
We leave the molds to cool overnight.  Sometimes there's some sinking in the middles; Todd pours the last of the wax into the centers, making sure to soak the top wick in wax as well.
Picture
Occasionally, a bit of steam will become trapped between the wax and the glass.  To be safe (because obviously, safety is our first priority), I pop the candles from the molds and let them air (you don't want any trapped water heating up under the glass; it could cause the glass to crack, possibly sending shrapnel in all directions).
 
These candles are a little off; so the fit right in, over here. 
Picture
It takes about an hour to create them; we keep useful goodies out of the landfill; we save money on candles; Todd gets to do crazy (read: hazardous), things in the kitchen.  Everybody wins!
Picture
Disclaimer!
Obviously, we aren't pros at this, or even hobbyists, and some of our methods are decidedly MacGyver-gone-Jackass.  So, if you want to try this at home, please do your research first, because there are safer ways to pull it off.

HOME  GALLERY  VITAE  CONTACT  NEST
0 Comments

do-it-herself easel repair

5/25/2013

0 Comments

 
It's not uncommon, in my studio, to be working on two, or even three paintings at once.  I try to keep it at two; not because three is a crowd, but because my oldest easel is warped, and increasingly,
just a pain in the ass to use: 
Picture
Not only warped, but bent (insert jokes here; you know you want to), the cross-pieces don't fit properly, and the bolt heads often slip right through the misshapen center groove:
Picture
Tonight I  found myself in need of a third easel.  I was sick of fighting with the old one, and decided to fix it.  What I needed, I mused, were bigger washers.  No; I needed giant washers.  So I made a pair, with two old medication lids and the handy hot-knife:
Picture
Picture
Now, I had a pair of giant-sized washers to keep the bolts from slipping the groove; I was finally able to tighten the frame correctly, and get the pieces to fit.

Support leg no longer slipping and sliding:
Picture
Picture

Cross-piece fits the frame again!  Woot:
Picture

No more issues with tipping or wobbling!  She's back in business:
Picture
Old easel is now working good as new, and the repair didn't
cost me a dime.  The whole project took about five minutes, 
and I can get back to painting!

HOME  GALLERY  VITAE  CONTACT  NEST
0 Comments

    Archives

    July 2021
    March 2021
    February 2021
    January 2021
    November 2020
    August 2020
    March 2020
    January 2020
    December 2019
    September 2019
    August 2019
    July 2019
    June 2019
    March 2019
    December 2018
    November 2018
    October 2018
    September 2018
    July 2018
    October 2017
    August 2017
    July 2017
    June 2017
    April 2017
    February 2017
    November 2016
    August 2016
    June 2016
    May 2016
    February 2016
    November 2015
    August 2015
    February 2015
    December 2014
    November 2014
    July 2014
    June 2014
    April 2014
    February 2014
    January 2014
    December 2013
    August 2013
    June 2013
    May 2013
    November 2012
    October 2012
    May 2012
    April 2012
    March 2012
    October 2010

    Welcome to
    the raven's nest!
    -- if you like
    arts-related
    mischief, this
    blog is for you.

    Categories

    All
    Accessories
    Animal Rescue
    Artist Bios
    Artist Statements
    Assemblage
    Bees
    Body Art
    BTS
    Bunny Gunner Gallery
    Cactus Gallery
    Cats
    Chickens
    Collaborations
    Commissions
    Concepts Photography
    Costume College
    Costuming
    Creature Creation
    Dandelions
    Dia De Los Muertos
    DIY
    Featured Artist
    First Friday Artwalk
    Forks
    Gallery Exhibitions
    Lupus And Fibromyalgia
    Military
    Misericordia University
    Mixed Media
    Monica Brown
    Myth And Legend
    On Location
    Painting
    Pas De Berlin
    Pauly Friedman Art Gallery
    Pennsylvania
    Poetry
    Puppet
    Reaching Series
    Roller Derby
    Sculpture
    Selkie
    Snail
    Studio Cat
    Studio Survival
    Surgery
    The Foundary
    UCLA
    USC Keck School Of Medicine
    Video
    Wearable Artwork

    RSS Feed

Powered by Create your own unique website with customizable templates.